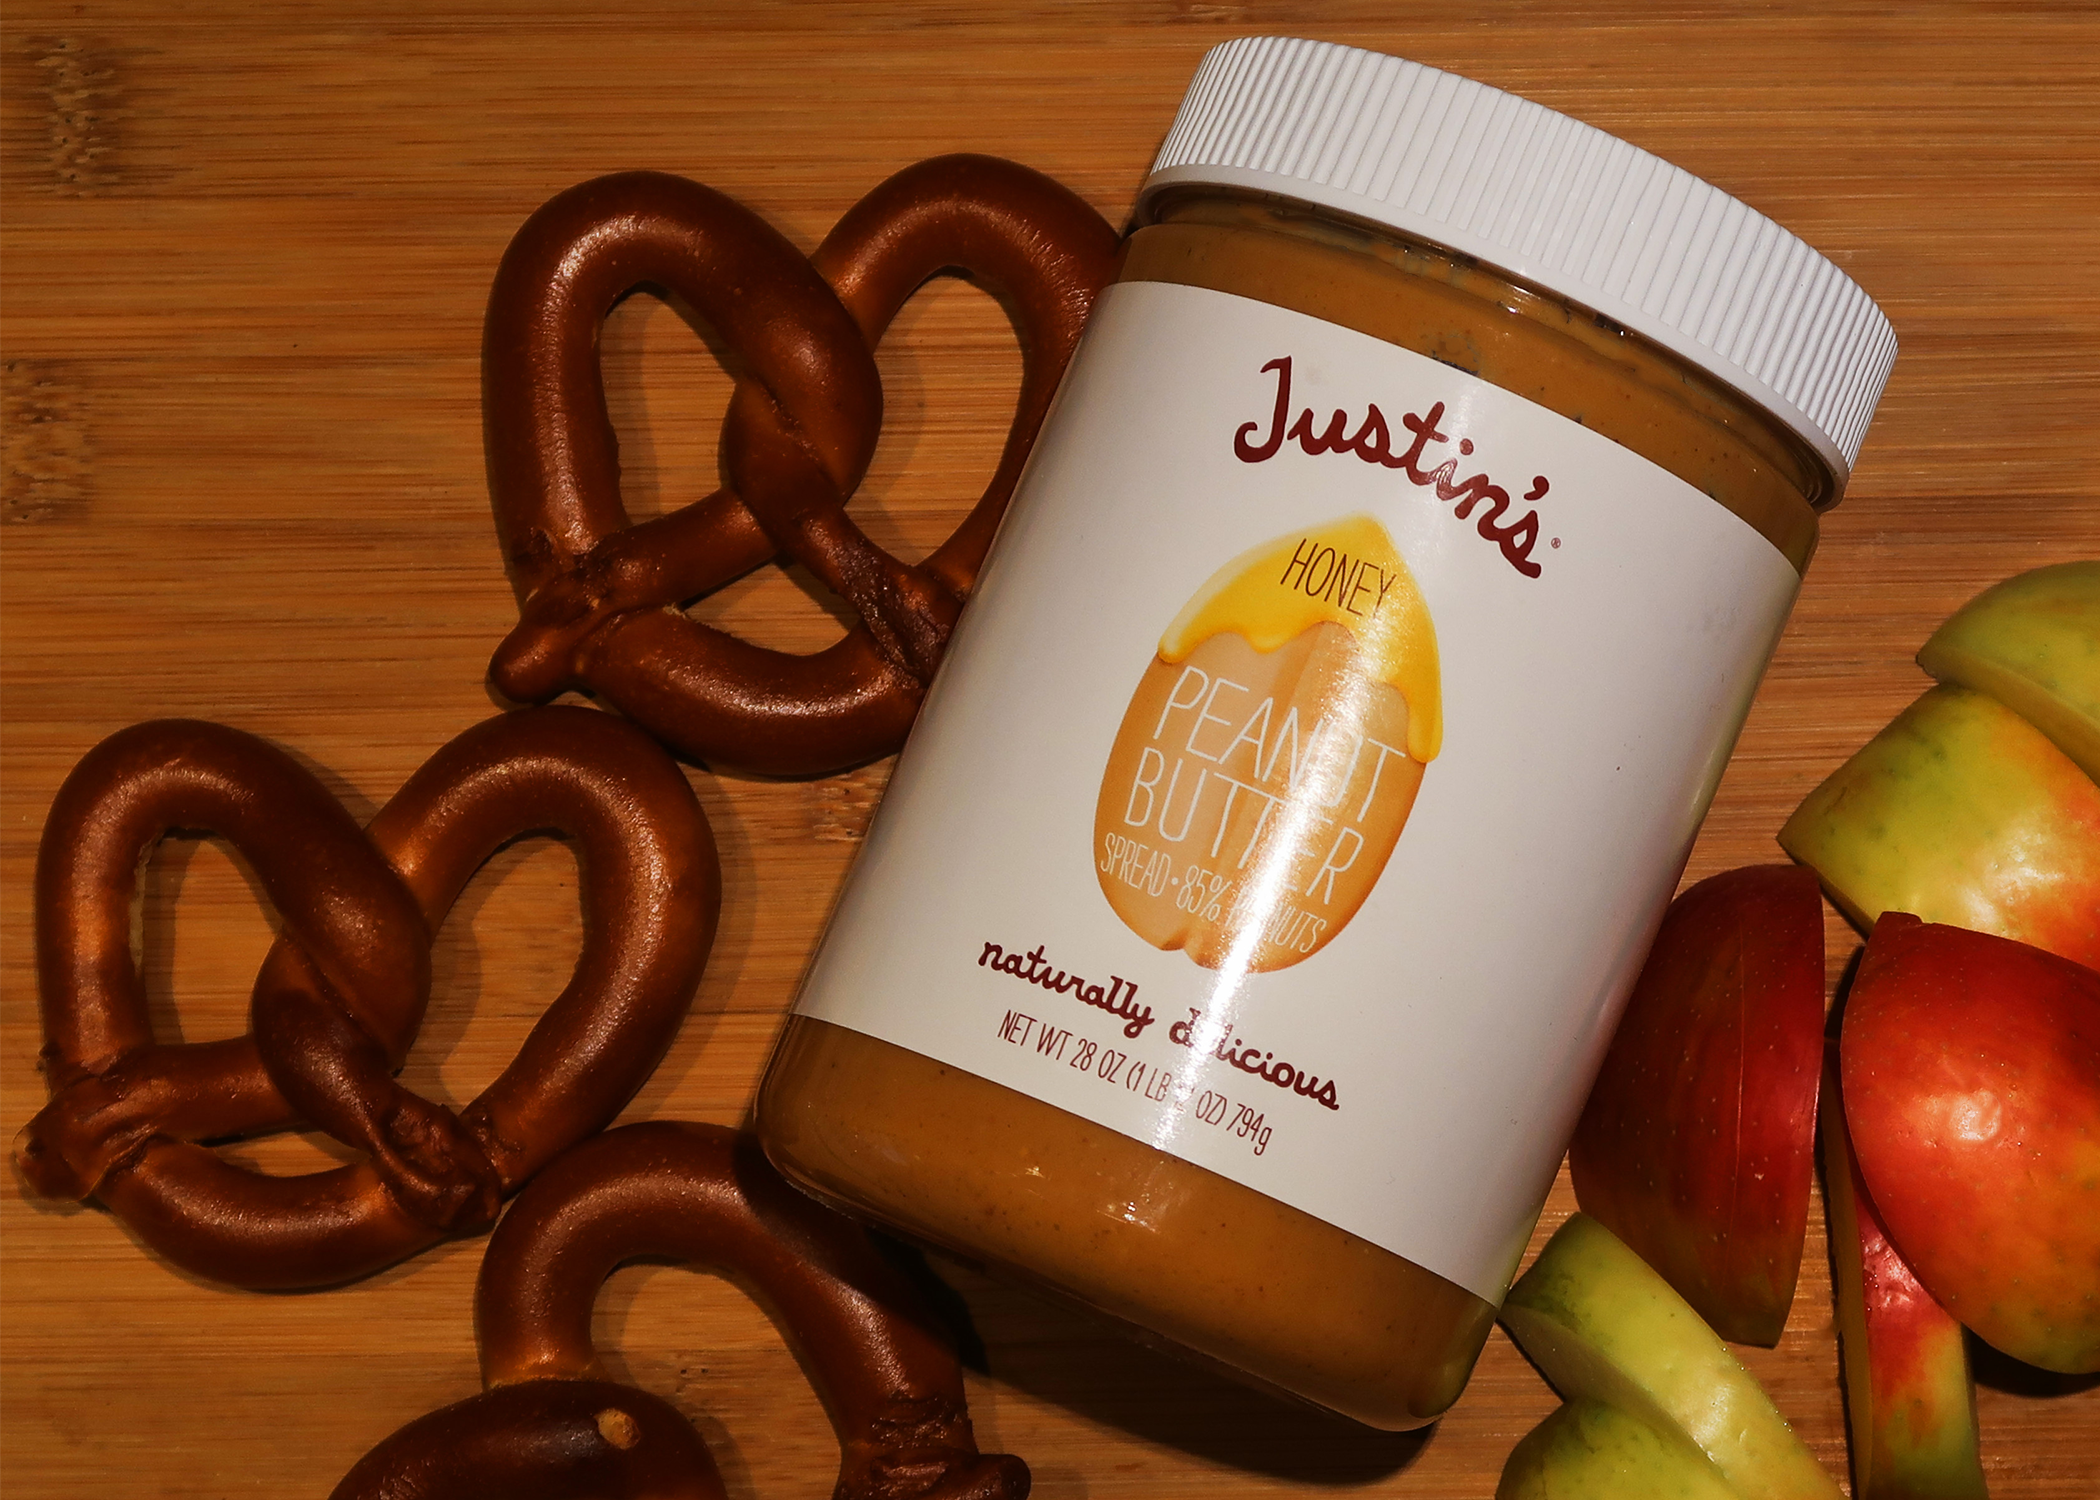
Hi guys!
Did you know there are over 28 million small businesses in the US? And with that much competition, it’s important to clearly convey what your business offers, whether that be a product or service. In this first tutorial I’m going to show you how to take a great product photography photos.
People want to know why they should buy something, and great product photography can communicate the value of your product, attract more customers, and attract more press. Photos are remembered more clearly than words, people can remember 2,000 pictures with about 90% accuracy over a period of several days. So, let your products speak for themselves! Below are five tips to help you create the product photos of your dreams:
1) Choose your product:
This entails making sure the product you’re offering has a viable market, as well making sure the product itself is visually appealing. Make sure people want what you’re selling before you put your time and energy into creating a business. For the purpose of this tutorial, I’m going to use Justin’s honey peanut butter.

2) Make sure you’re using the right camera:
With smartphones becoming increasingly sophisticated, you can try to take product photos with them. But I’d recommend investing in a basic camera to get the best quality images. A good starter camera is the PowerShot G1 X Mark II from Canon. It’s less than $1,000 and is packed full of features, with a beginner-friendly design. Feel free to use the auto setting until you become more comfortable manually adjusting the settings.
3) Find a setting:
Different products are going to require different settings. Think about who’s using your product, why they’re using it, and where they’d be using it. You can choose to have a simple, product only image, or create a photo that shows a visually appealing narrative. For this, I’m choosing the latter option.
Since Justin’s is a food item, it makes sense for it to be shown in a culinary setting. I’m using a a large cutting board that will create a beautiful background, and give me the space to add more items- I mean, who doesn’t love apples and peanut butter?!
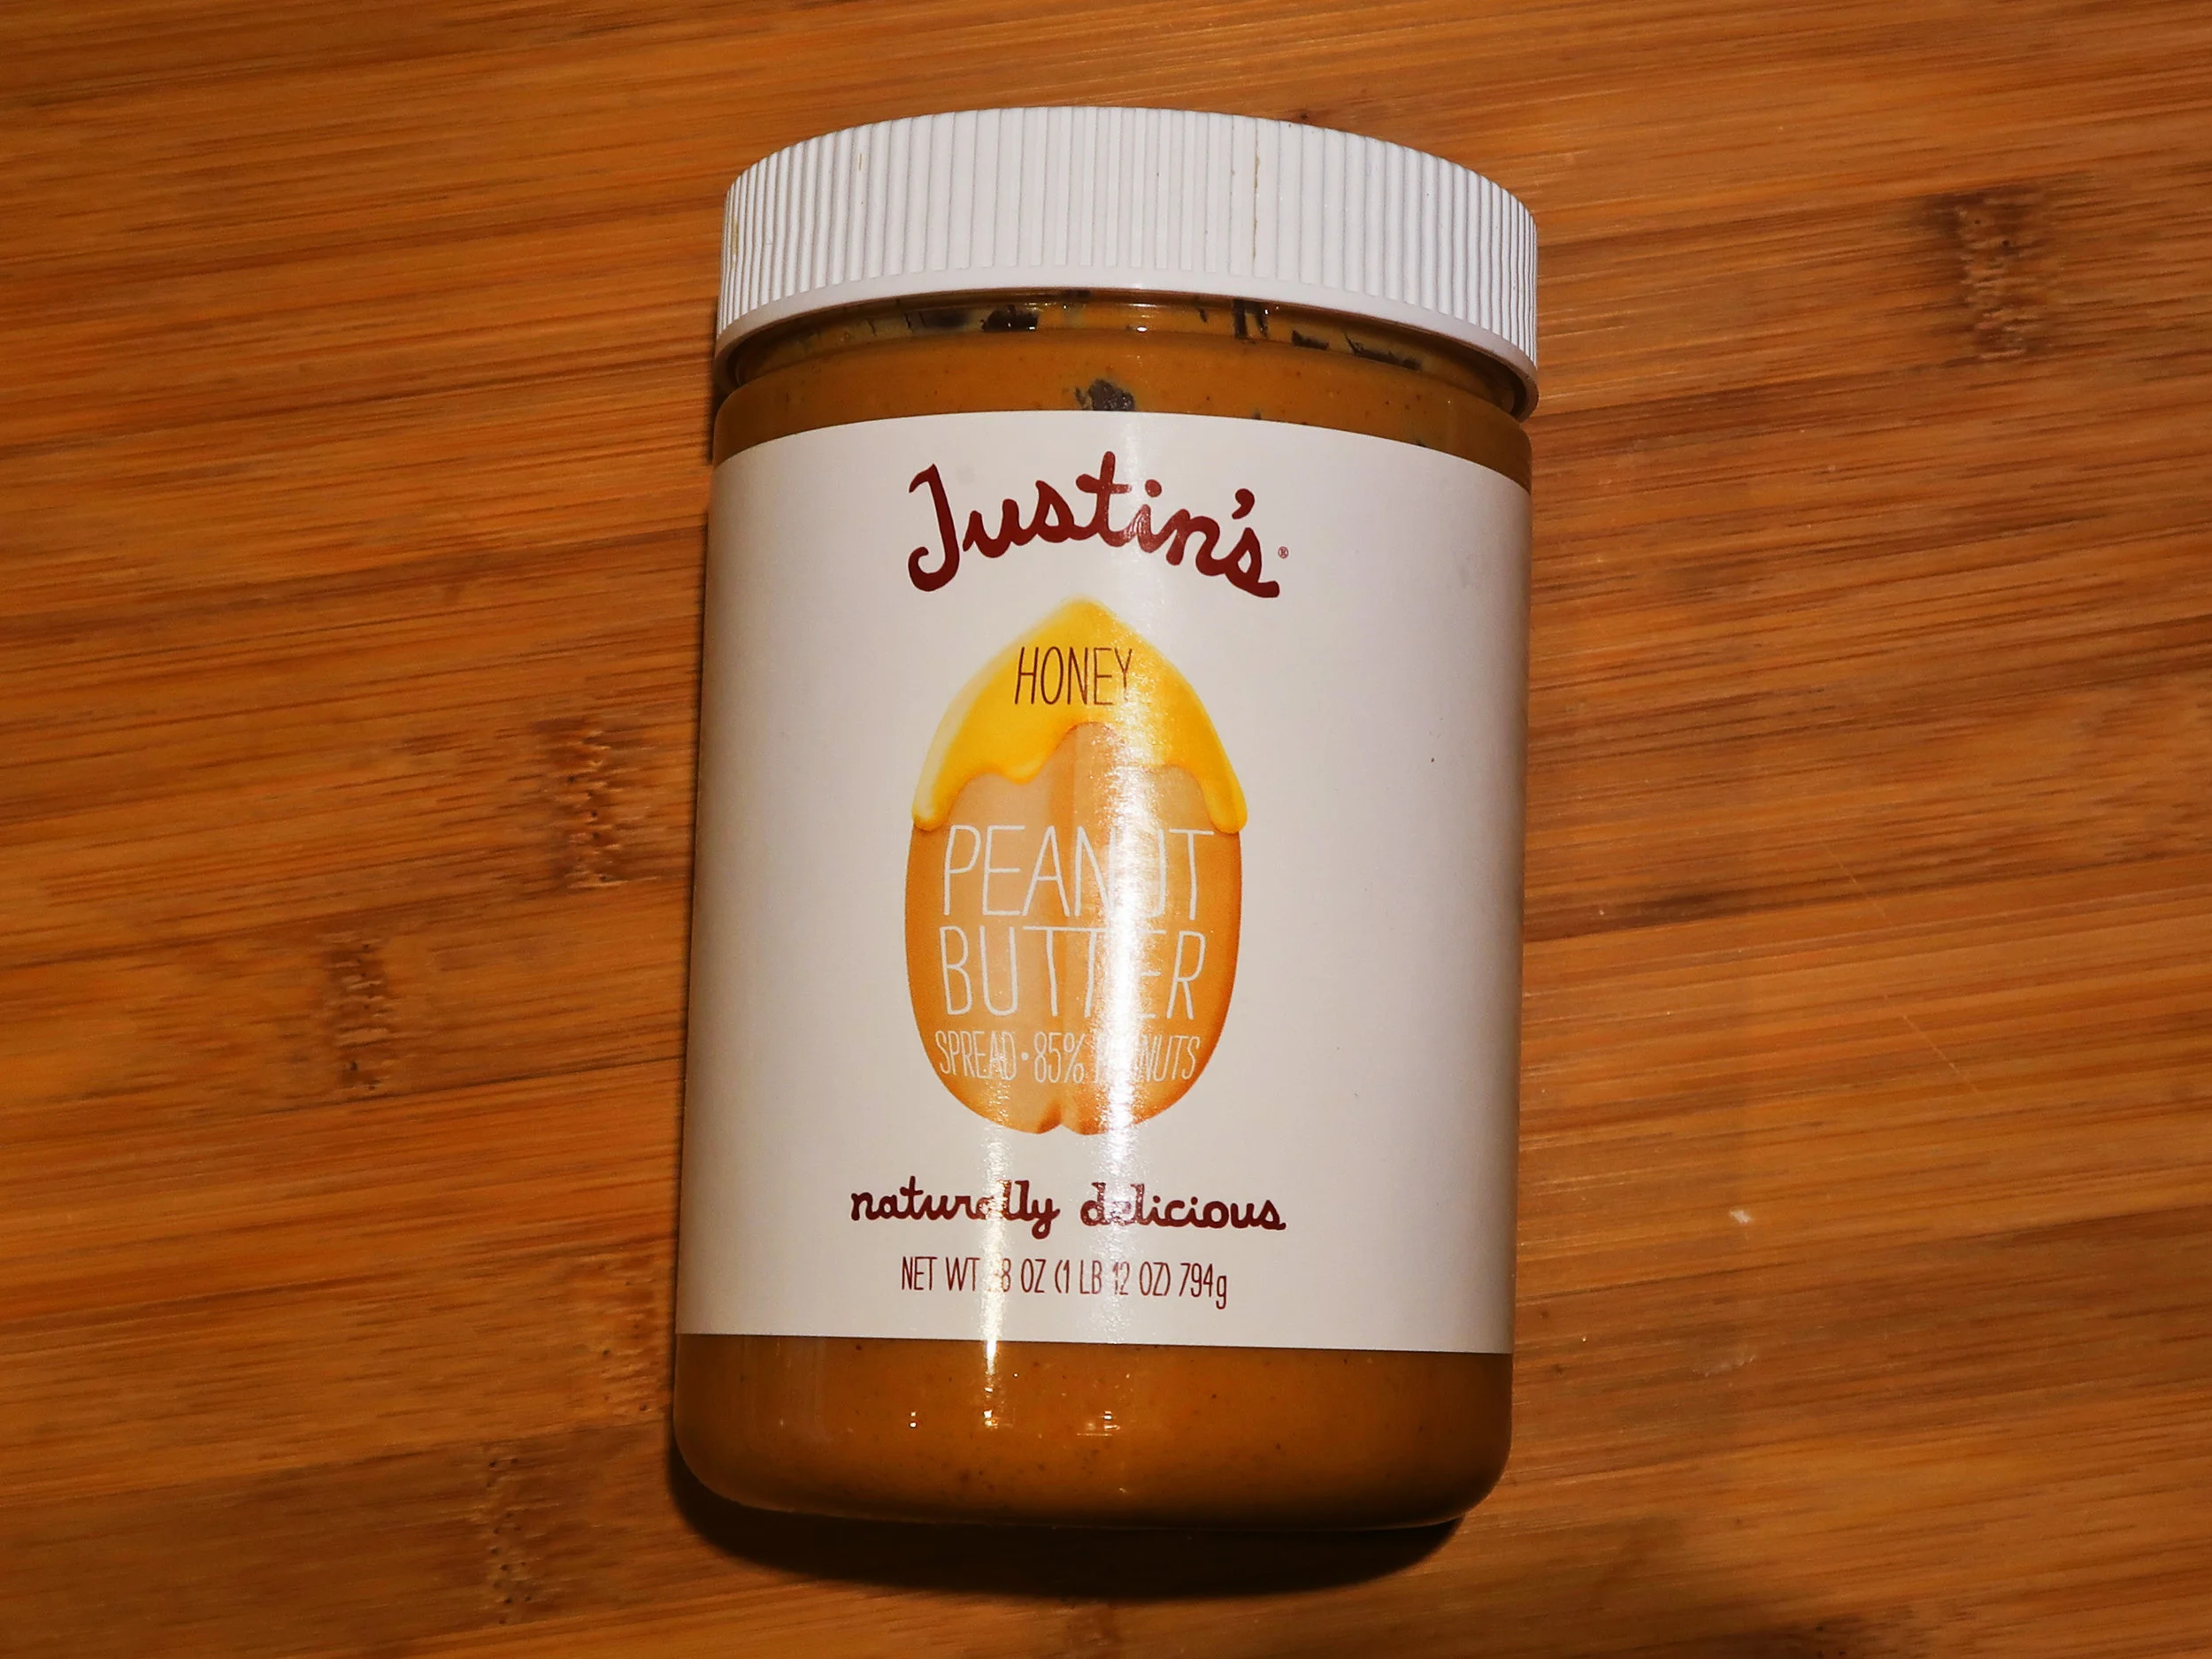
4) Make sure the lighting is right:
If you have one, use soft box lights. But if you want to take these photos with minimal investment, take them in a room that has large windows on a relatively sunny day. Overcast and open shade the most ideal types of natural lighting for photography because it will prevent harsh shadows. You want the most even lighting possible, lighting that doesn’t distract from your product.
5) Make post production count:
Editing is really the icing on the cake for any photo. It allows you to draw focus and highlight whatever aspect of the photo that you choose to, and creates a cohesive feel to your image portfolio. Edits can be done on anything from phone apps, to Adobe Programs, to my personal favorite, Polarr. Polarr has an easy-to-use UX design, and utilizes machine learning to create the best images possible out of your chosen edits.
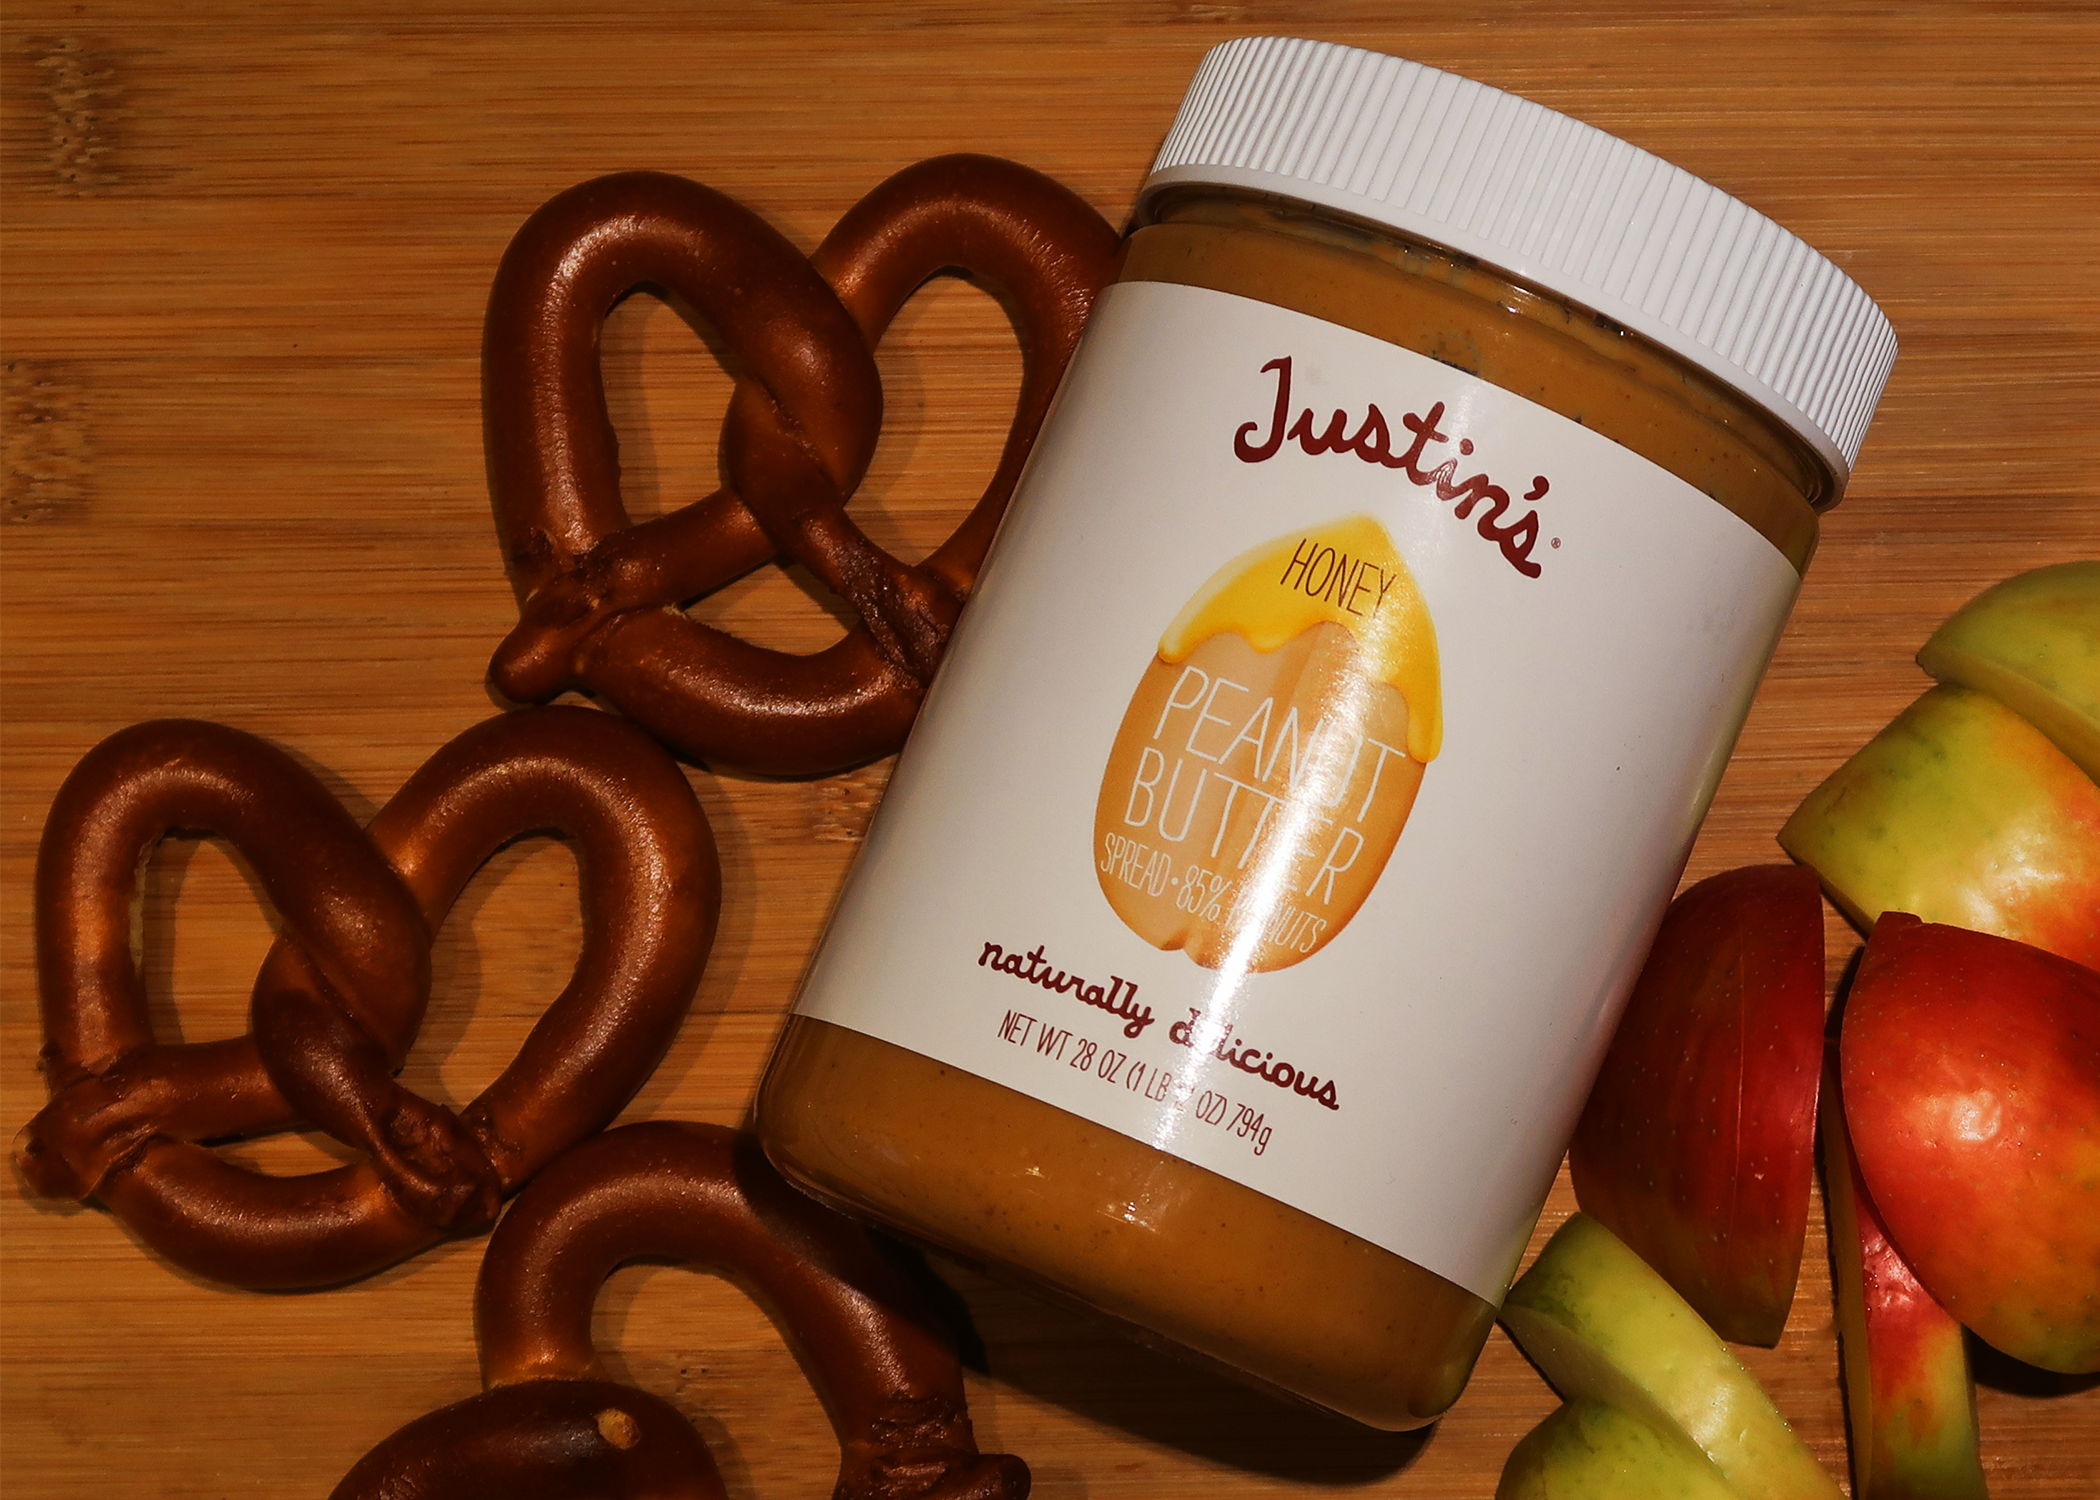
So, there are my top five tips from stunning product photos. Let me know what you’d do differently! Leave a comment about that, or anything else you’d like to learn about. Thanks!